Welcome to the fourth and final part of our guide on how to create time lapse films. In this fourth part of the guide, we’ll cover how to post-process and edit together your time lapse images. Processing and editing time lapse images effectively is an imperative, but often underrated stage of time lapse production. Addressing any images issues at this point of post production can really make a big difference to the quality of the final product. Oh, and if you haven’t already read the first, second and third parts our of guide click here for Part 1: Time Lapse Basics’, here for ‘Part 2: Time Lapse ‘Equipment’ or here for ‘Part 3: Shooting Time Lapse’.
Post-Processing and Editing.
So you’ve had a successful shoot. You’ve now got a sequence of hundreds, if not thousands of images. Much of the hard work is done and soon we will find out how all that planning and time is going to look. Whatever the use for your time lapse video is we’re sure you’ll want it to look good played back in sequence. There are many, many effects that you can apply to the footage once it is ‘stitched’ together as a video file (which we will touch on very soon) but first we’ll talk about making those tiny tweaks to the stills before we handle them as a video.
Processing time lapse images effectively is an imperative part of creating a smooth looking time lapse film. The first thing to address is any brightness, colour balance, cropping and rotation issues. Try as you might to get things looking right in-camera, when you import your sequence of images into your computer you may find that the horizon isn’t quite level or the white balance is casting an undesired hue across your images, for example.
We favor Adobe Lightroom when it comes to processing time lapse images. Lightroom boasts intuitive, easy to use controls with a really easy sync function to apply the same changes to a whole batch of images. It also even reads the metadata from your images meaning you can easily (re)order the them (sometimes a life-saver if you forgot to reset your photo counter) and quickly get rid of any known issues from the lens you used such as warping and vignetting at the edges of the frame. Once you are happy with your edited batch there are a good number of export options including file and folder naming, and filetype and quality options; We still save the images as JPEGs at this stage.
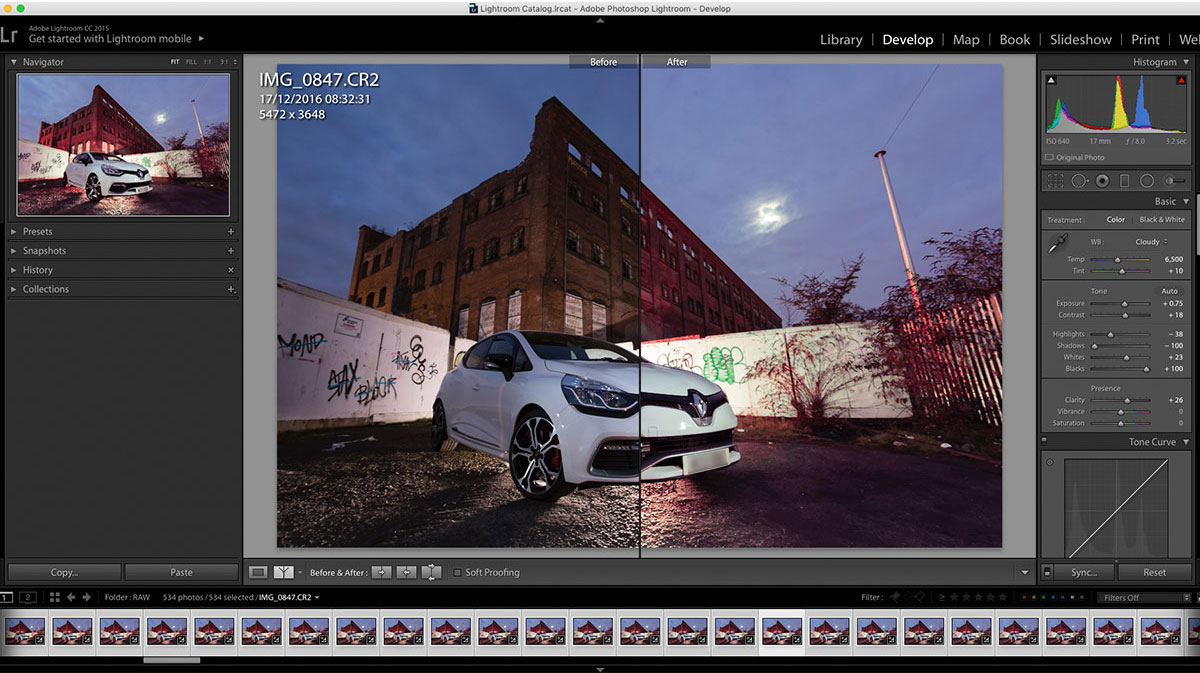
An example of Adobe Lightroom’s image editing interface
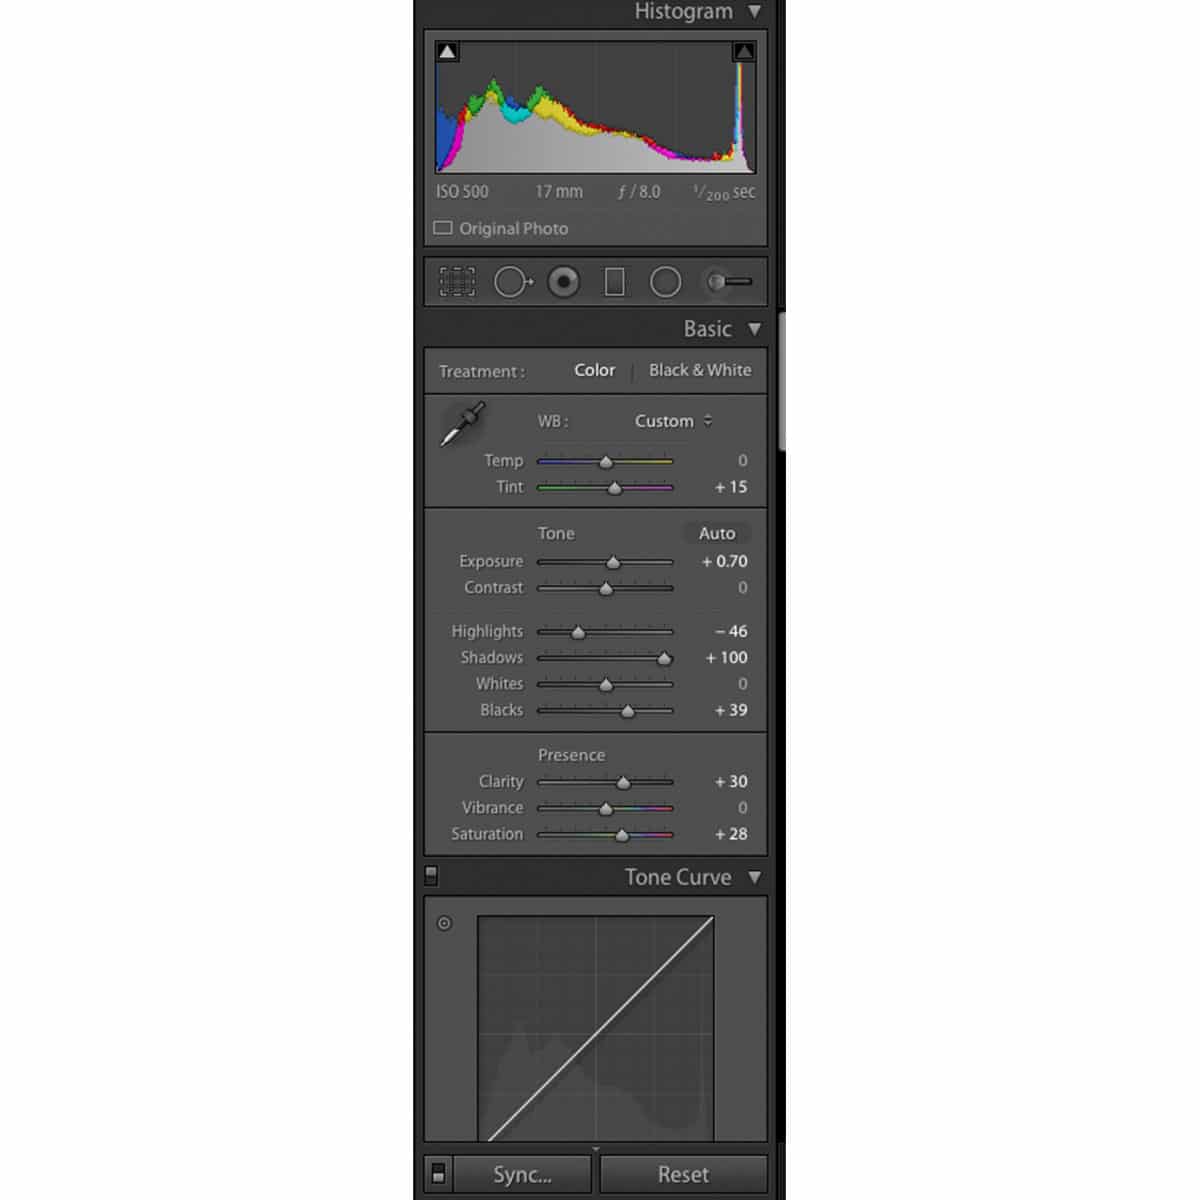
An example of Lightroom’s image adjustment window with the image sync button in the bottom-left corner
An alternative method of processing time lapse images is the ‘batch edit’ function in Adobe Photoshop. This method requires a bit more work and time to process, but is still much better than editing each still individually, a thankless task. This method requires creating a Photoshop “Action”. Effectively, creating and naming a new “Action” lets you ‘record’ the editing process you apply to the first image from your time lapse folder. Then you ‘stop’ the recording and apply the same sequence of changes to the rest of the images using the “Automate” function. Here you select the action you’ve just recorded and select the folder of images you want to apply it to. Then you wait. For quite a while.
At this stage you now have a bunch of stills ready and waiting to be transformed into your time lapse video. At Inside Out Time Lapse Productions we’ve got our nerds to write a script that actually organises and compresses all of our stills into a video file but there are plenty of other ways you can convert your images. Below are just a few other options.
- LRTimelapse for Mac and Windows is a package dedicated to creating good looking time lapse videos, offering quite a few useful editing tools to help polish your finished product.
- Time Lapse Assembler for Mac is a free and easy to use tool, to turn your sequence of images into a film.
- Chronolapse for Windows is another both popular and free path in to creating those first time lapse videos.
As we work on Mac much of our work is composited and finished in Final Cut Pro X (In addition to Adobe’s After Effects and Premier). Although the workflow has changed from earlier versions of the program it makes for a fairly quick process to achieve good results with your now stitched time lapse video. Colour corrections, speed adjustments and so much more editorial decisions are made possible. One plugin we recommend is Digital Anarchy’s “Flicker Free”. It has customisable presets for time lapse and slow motion footage amongst others to help reduce and even eliminate flicker from your footage.
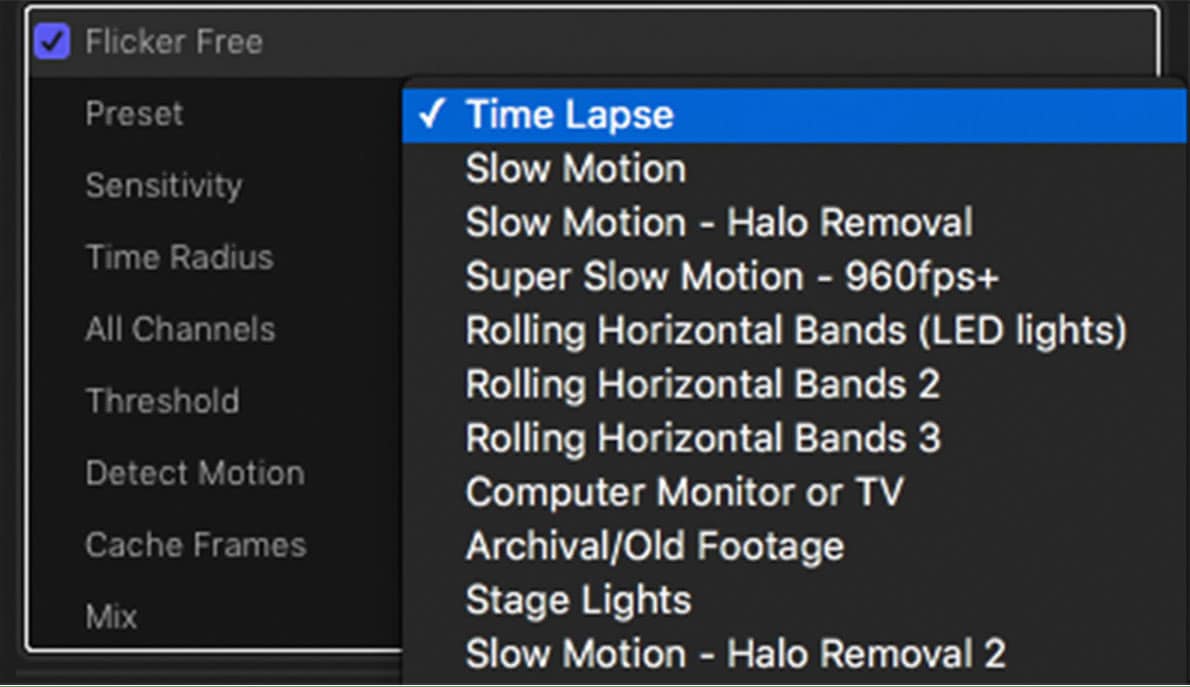
Once installed, Digital Anarchy’s ‘Flicker Free’ (available for several editing platforms) allows you to treat footage with a number of customisable presets. Here is how it appears in the inspector window for Final Cut ProX
And that’s it! Once you are happy with they way your time lapse looks, hit that export button and save that video file! Depending on what software you used to produce your time lapse video you may be presented with a number of file-type options including options optimised for playing/sharing videos on i-Tunes, Vimeo, YouTube, mobile devices and for website embedding, to name a few.
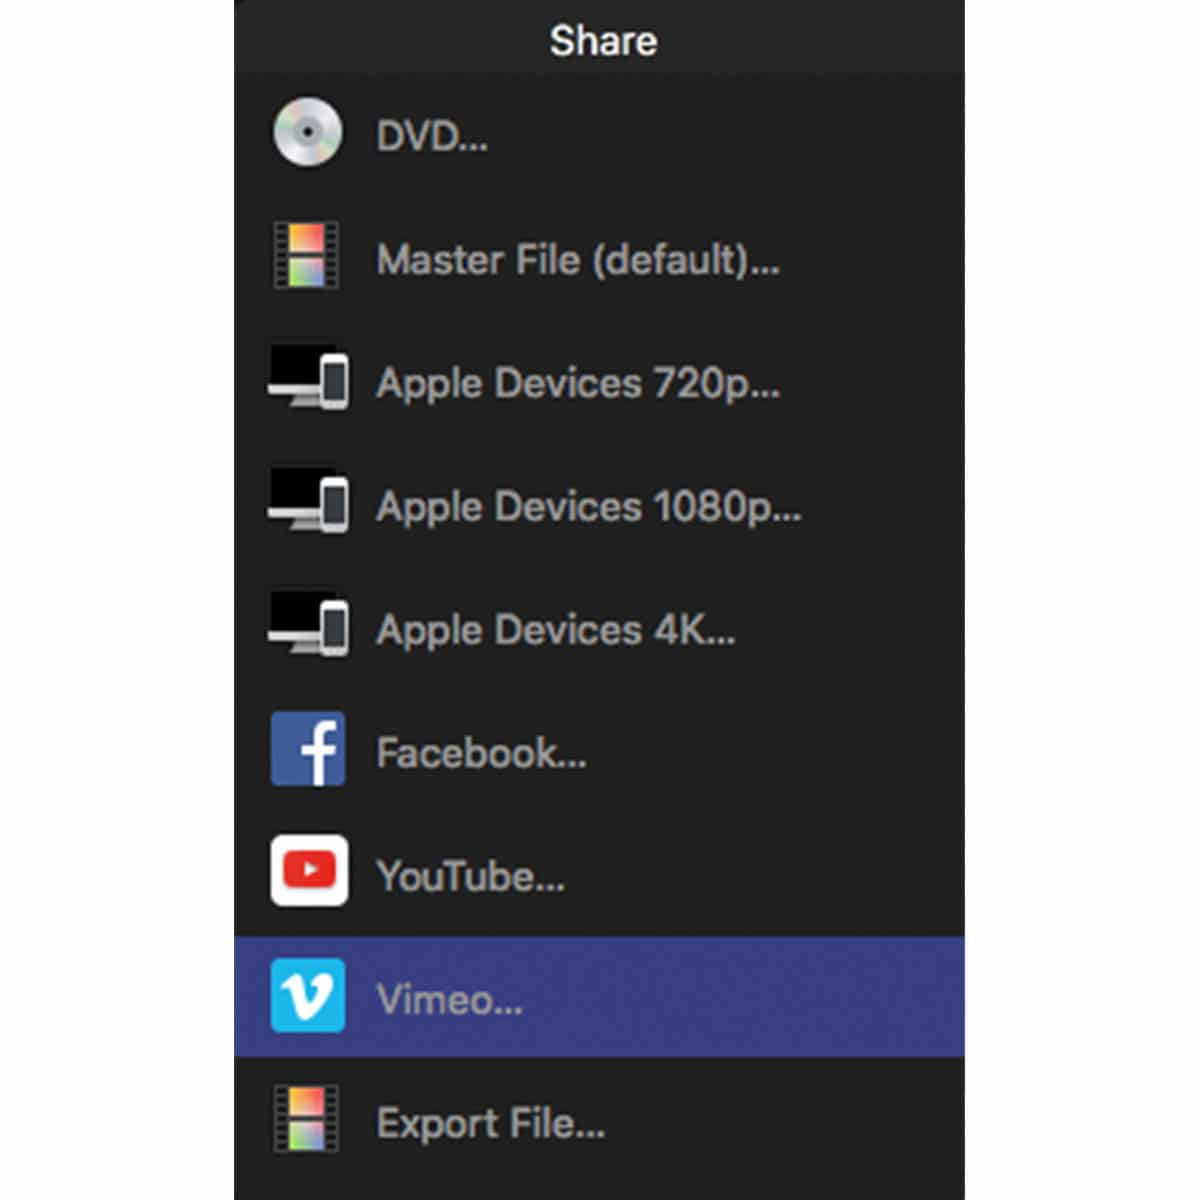
[Final Cut Pro has many preset options for easily exporting your video]
Hopefully you’ve now learned a thing or two when it comes to post-processing your time lapse images and editing them together into a polished film. Thanks for reading and happy shooting!
[contact_cta]

